How to Photograph Jupiter and its Moons with a Foreground Subject
Once a year there’s a special opportunity to capture Jupiter and its four Galilean moons with a foreground subject and it’s called opposition.
When a planet is in opposition it is opposite the Sun; so when the Sun is rising in the east, Jupiter is setting in the west and vice versa. This means that Jupiter will be low on the horizon during the hours of twilight which is perfect for capturing it with a foreground subject as there will be some delicate ambient light providing balance between the exposure of the foreground and sky.
The other benefit during opposition is that it’s when the planet will be at its closest to Earth on its orbit. This means it will be bigger in the sky in terms of apparent size. Not only will Jupiter’s disc be bigger in your scope but its Galilean moons will also be bigger and easier to capture.
Sony a7IV + Sigma 150-600mm DG DN OS
f/6.3 | 1/4 sec | ISO1600
Planning with Planit Pro
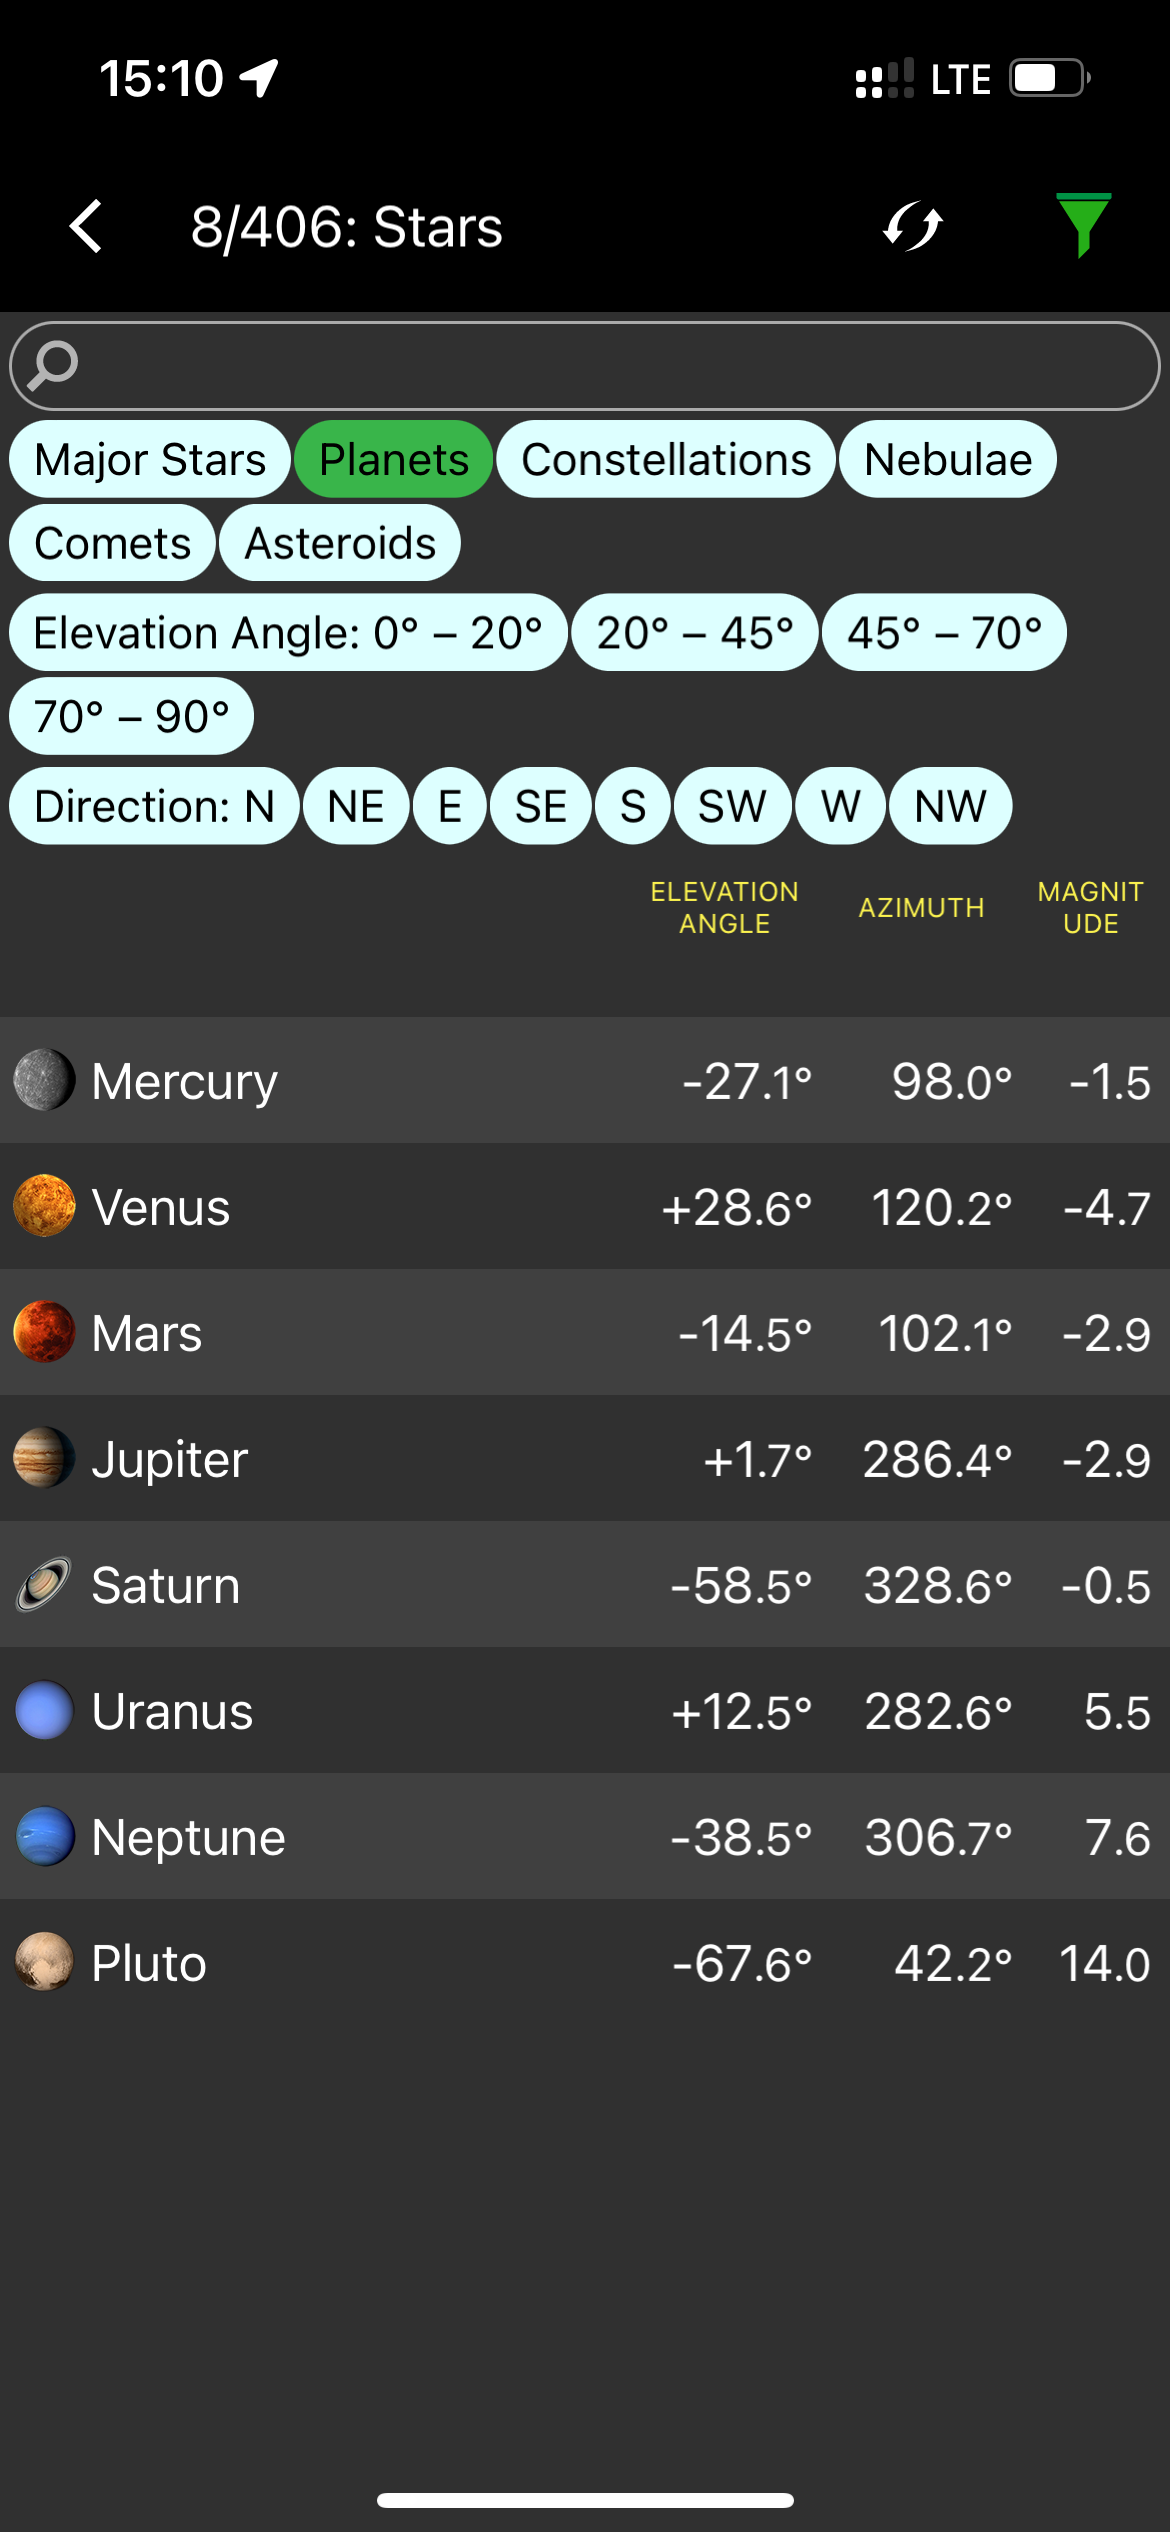
To plan the alignment with a foreground subject I used an app called Planit Pro. This allows you to choose a particular celestial object such as a planet, star, comet, galaxy or nebulae, and it will then plot a line on a map to show you its position at any given date and time.
So I set the time in the app to when Jupiter would be low on the western horizon and then began the process of finding a foreground subject. After living in Istanbul for many months I know that most of the shore along the Bosphorous Strait in Kadikoy and Uskudar provide a great line of sight to many famous landmarks on the European side of the city in the west. After shuffling my shooting position along the coasts I aligned the setting Jupiter with Galata Tower.
If I was planning this shot with the Moon, I would have to change position every day. But with Jupiter, it sets in the same place every morning, roughly 4 minutes earlier every day. So during my first attempt, Jupiter lined up with the tower during civil twilight and the sky was too bright for the moons to shine through. But from there on, every attempt I made the sky would be darker and darker as Jupiter would set roughly 4 minutes earlier each day (also helped by the fact the Sun would set later every day).
So then it was simply a case of seizing every opportunity of clear skies I had until I got the shot. And I can’t stress how perfect the weather needs to be when capturing a celestial object so low on the horizon - there needs to be no clouds and clear air for miles and miles and miles in that direction. As you’ll see in the video, Jupiter disappeared behind clouds I couldn’t even see in my viewfinder on my first two attempts! Days after rain or storms can be good as any smog or humidity typically gets blown away leaving crisp, clear air. But that’s not always the case, as I found out!
Gear
For this shoot I used a Sony a7IV full-frame camera along with the trusty Moon Bazooka; Sigma 150-600mm DG DN. I bought this lens primarily for capturing the Moon but it also comes in handy in situations like this. Oh and I’ve also been loving the Shimoda Carry-On Roller to cart my heavy gear around Istanbul. Even with uneven chaotic pavements, its chunky wheels seem to handle any terrain I drag it on. You can get 10% off all Shimoda gear on their website by using code WALLACE10.


